Introduction
I have been learning 3D while working on motion graphics projects in the past few years but I’ve been dabbling on 3D characters a little this past year. When I saw that RenderHub was hosting a Character Design Contest I jumped on the opportunity to create a stylized character.
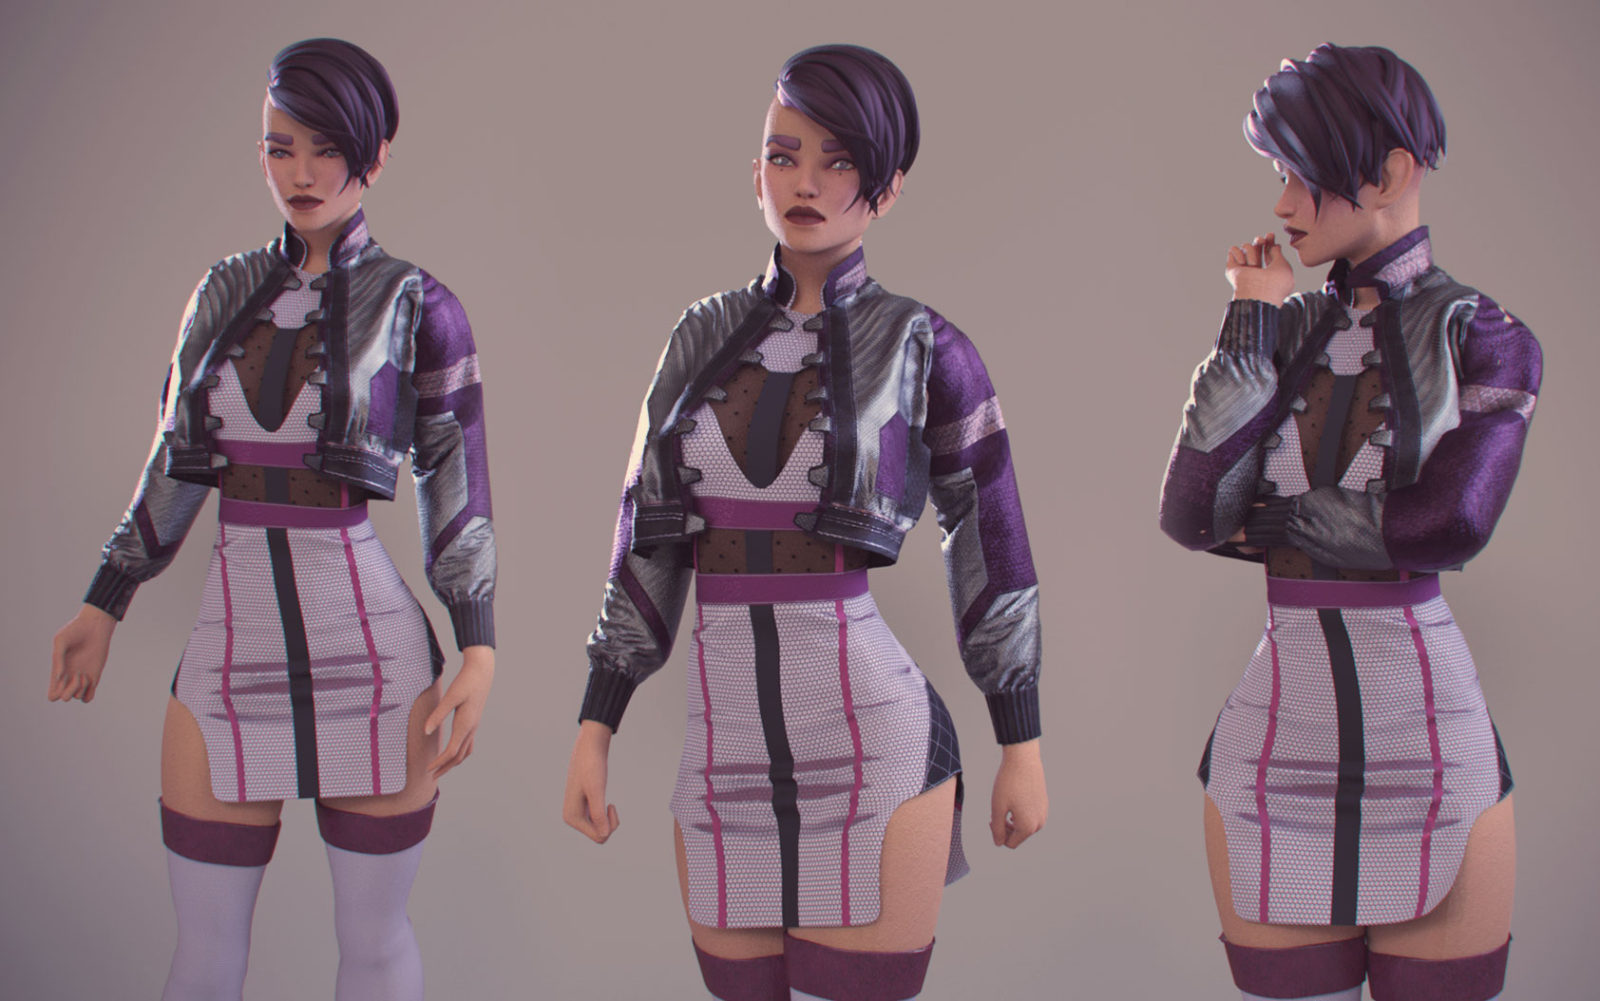
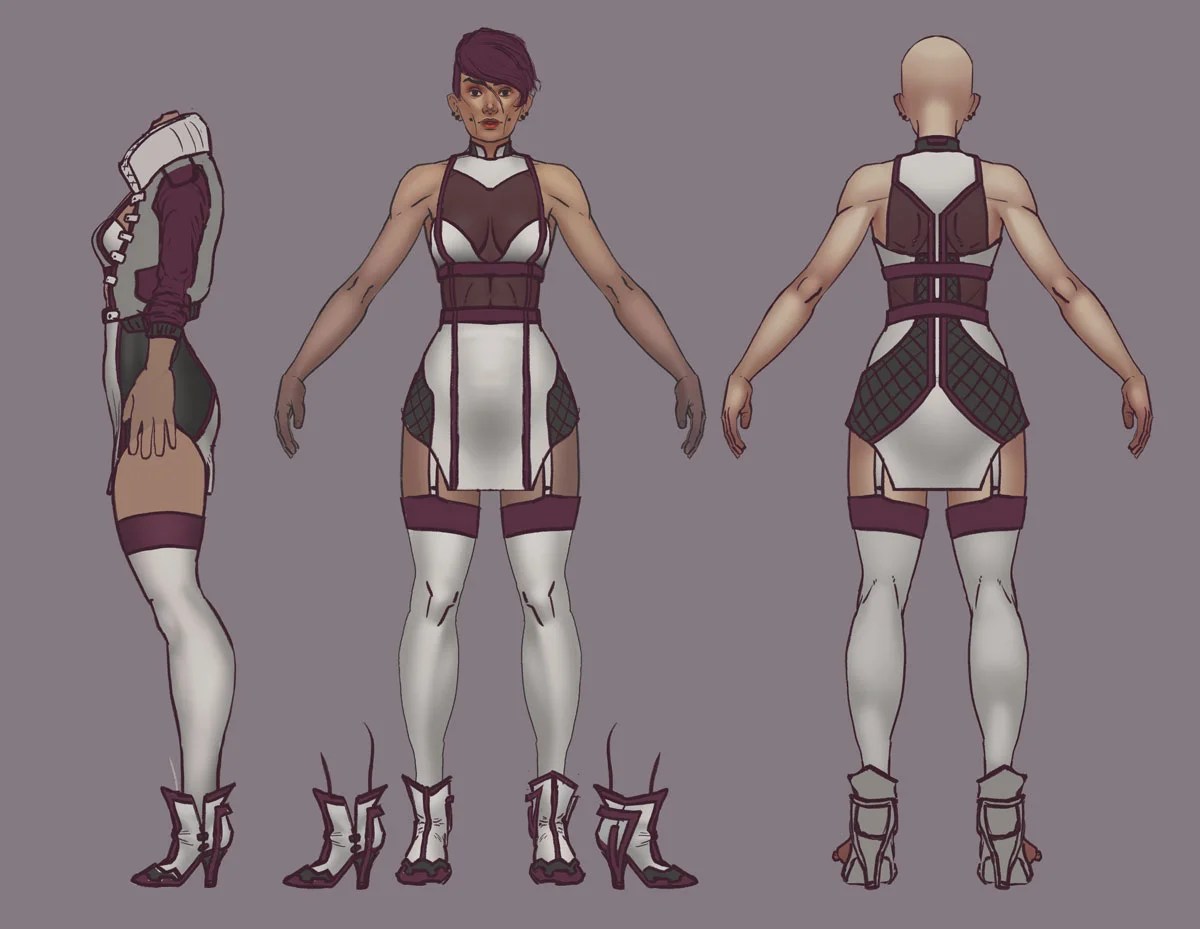
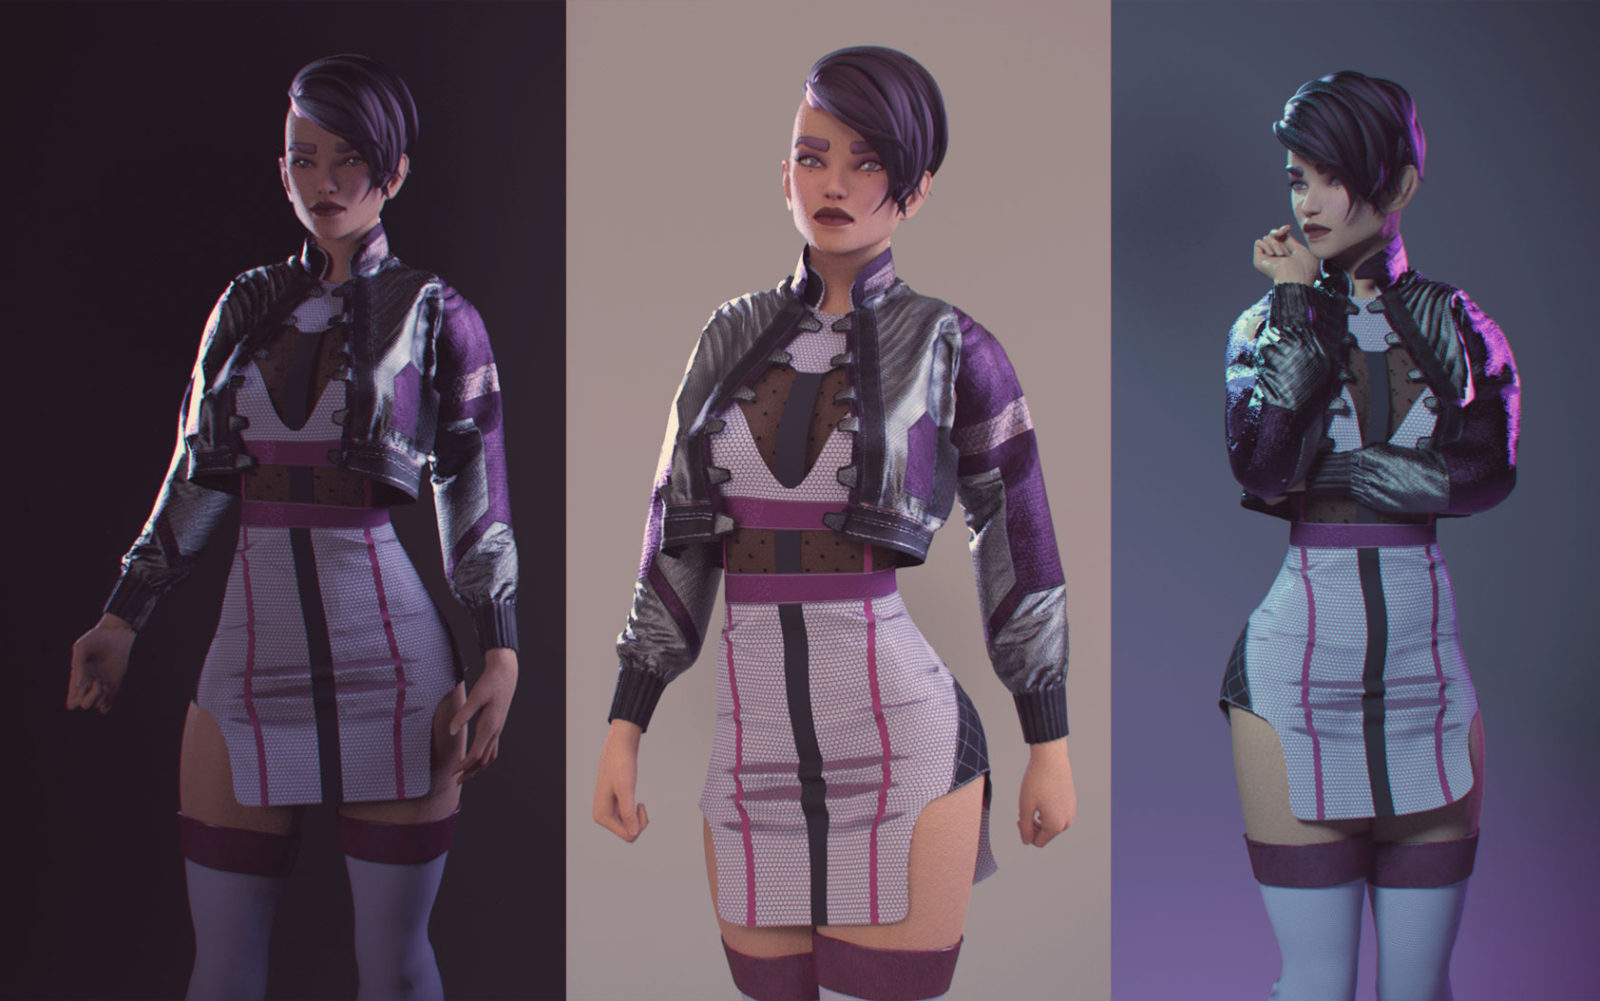
I made a few sketches but finally settled on this cyberpunk girl design who I decided to call Quora Jin.

The character takes it’s inspiration from the cyberpunk Aesthetic, I wanted to create a futuristic look, but I wanted to stay away from making her look like she was extracted from the Cyberpunk 2077 game so I stayed away from embedded lights or super rough looking characters.
The body
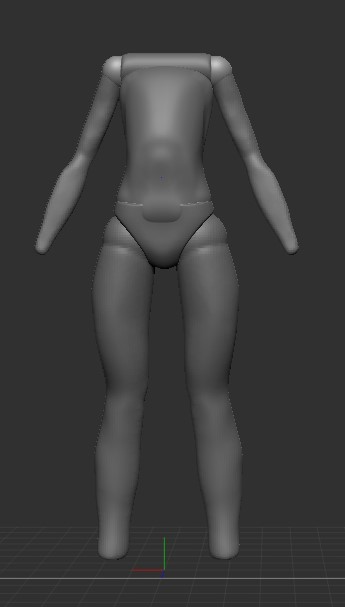
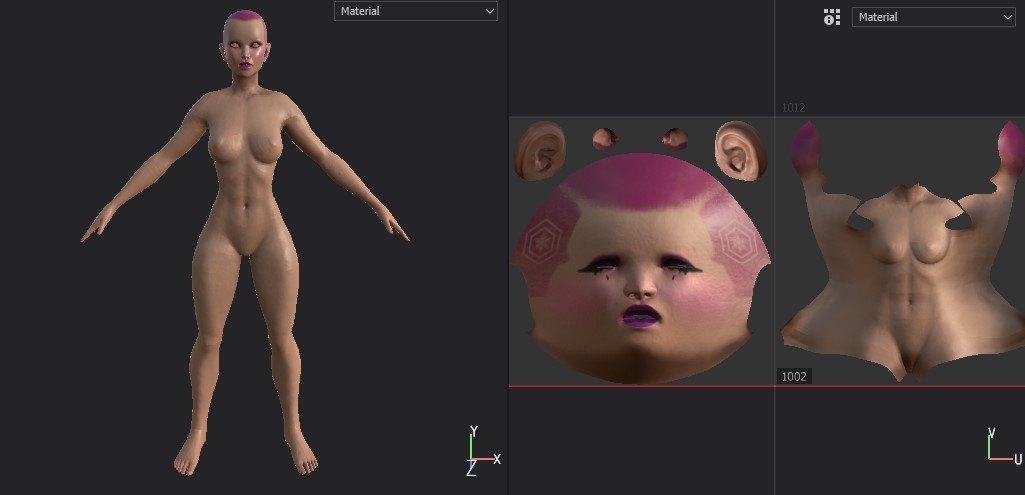
I started the Character in Zbrush where I created the body.
I used simple shapes to create the blocking, in which I only focus on the big areas and shapes of the body. When I had a shape I was happy with I merged the shapes and worked a more detailed body.
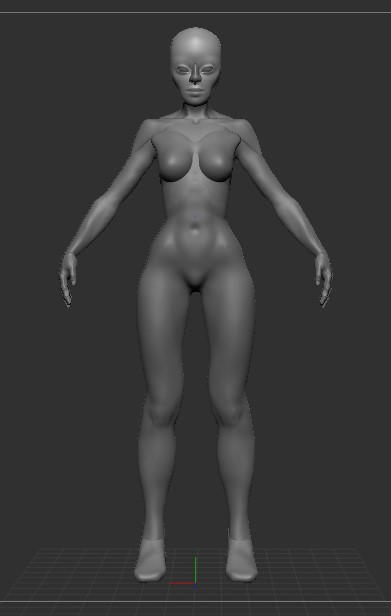
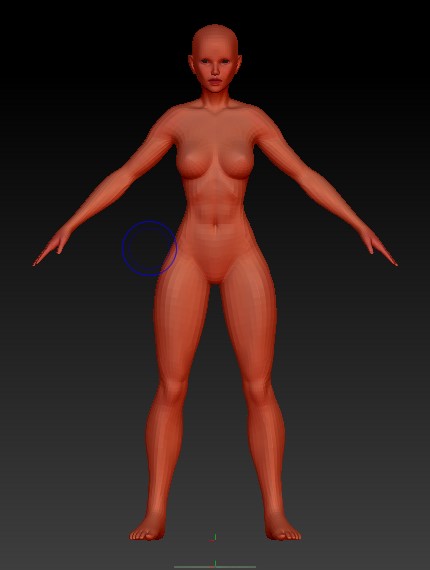
I start the retopology process right here, since having a good topology helps better control the shapes of the sculpture. I used a Genesis 8 from Daz3D as a base mesh and used Maya’s retopology tools to give it the shape of my sculpture.
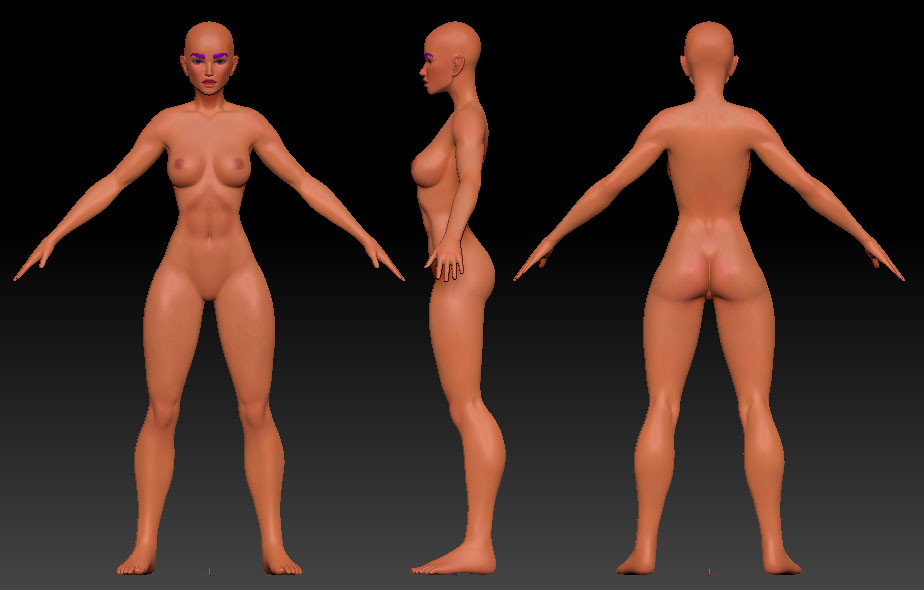
Re-imported the retopologized shape and finished the sculpting process using subdivisions to create the details. I mostly used the move, clay buildup, standard and dam standard brushes.
The Clothes
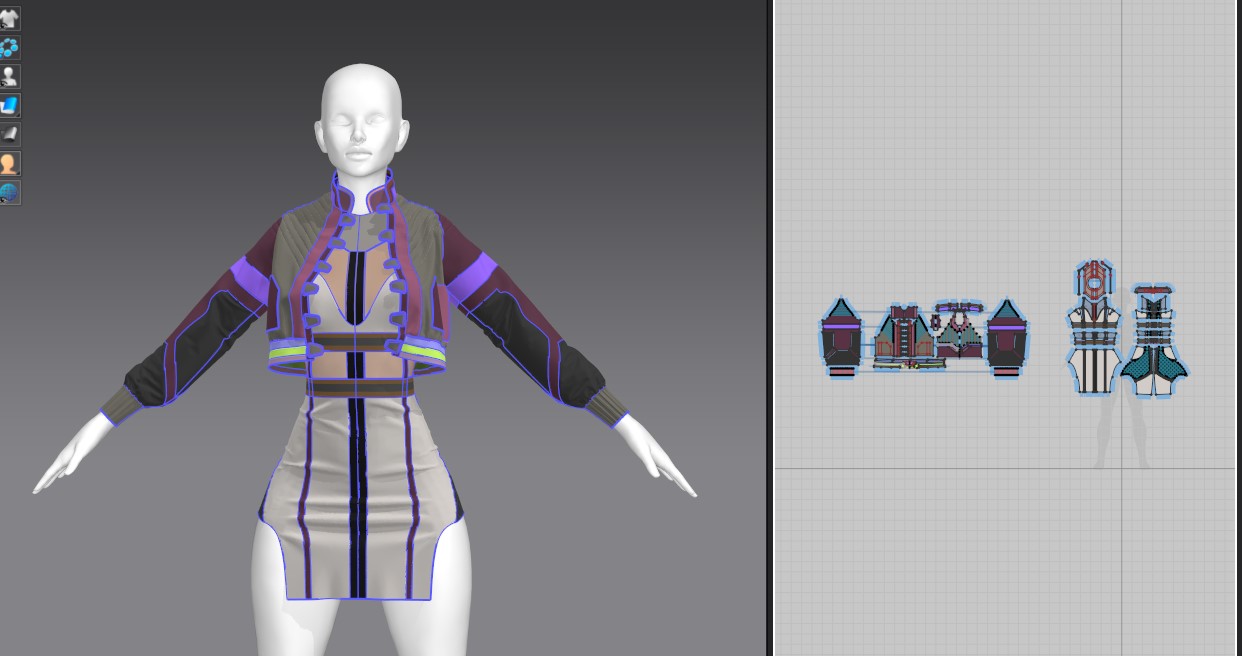
Once the body was sculpted I imported it as an avatar in Marvelous Designer and started making the clothes. I changed the design a little as I was working on them to better suit my idea of the final character. It’s important to start with a high particle distance to simulate faster but finish the design in a smaller particle distance for the final result to be more detailed.
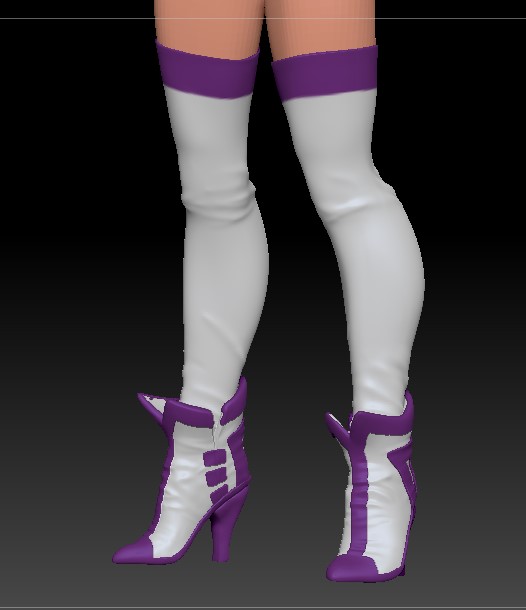
The boots and stockings I hand sculpted in Zbrush since I found them easier to do there.
The Hair Strands
For the hair I moved into blender. I used a technique I learned from YanSculpts‘ youtube tutorials where you use two different curves to create hair strands, one for the shape, length and twist of the strand and a secondary one to create the actual form of it.
Here’s a the video in case you want to learn how to use this technique.
Textures
I used Substance Painter to create all the textures for the Character. I used a complex SciFi looking hexagon pattern for the big areas of the dress and boots, and simple leather and shiny plastics for the rest.
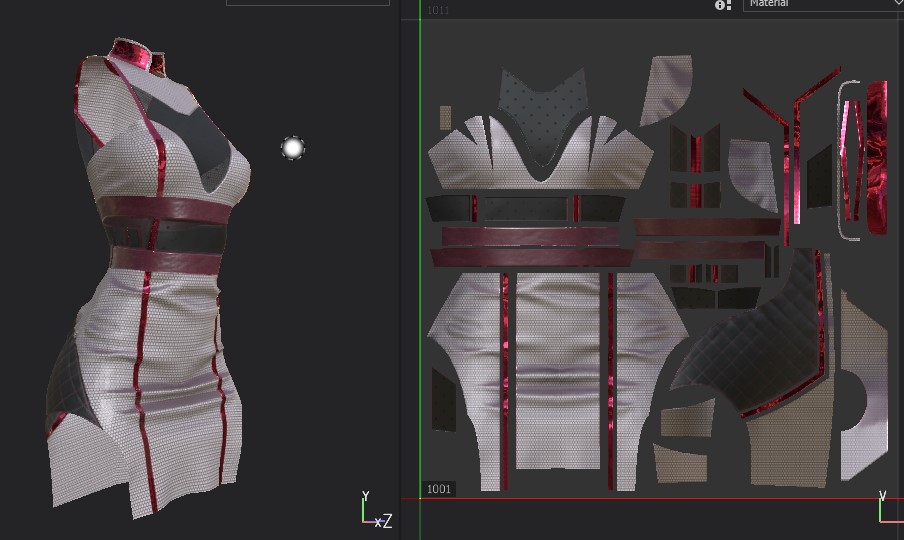

The body used some curvature maps to add color and shadows and I used fill layers with masks to create the make up.
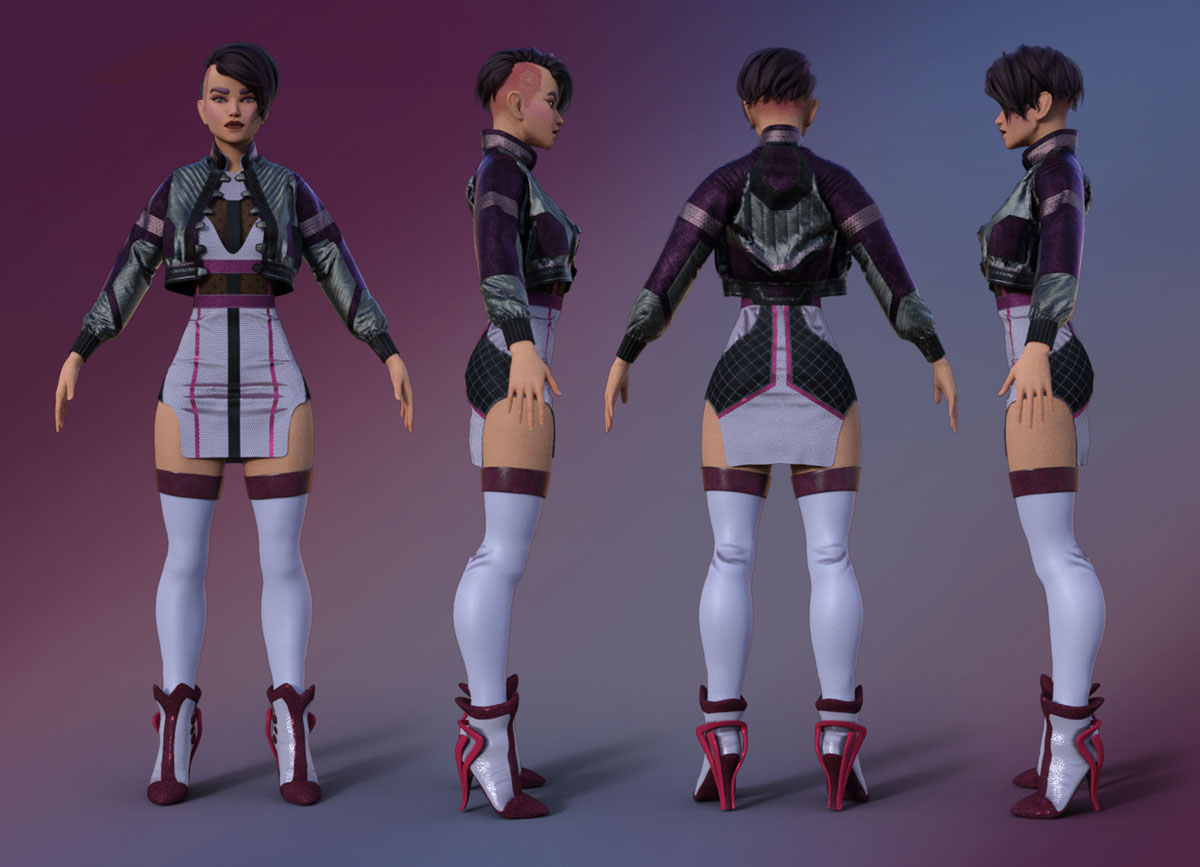
Rendering
I used Iray inside of Daz for the renders with some simple HDRIs and a couple of Object Lights.


Afterword
Creating this character was a great learning experience. I had lots of fun making this a reality.
Please check the final project on my portfolio.

